A Rosedale homeowner had been fighting a damp basement for three wet seasons - not a dramatic flood, just a persistent line of moisture along the base of three walls every time it rained hard. This is how a no-dig interior drainage system solved it without touching a single square foot of their backyard.
The Problem
The basement had never flooded outright, but every heavy rain left a damp line along the floor-wall joint on the north, east, and west walls, with occasional efflorescence staining confirming the pattern had been going on for years. The homeowners had already invested in a finished backyard patio and mature perennial beds hugging the foundation on two sides, which made the idea of exterior excavation both expensive and, frankly, unwelcome - they didn't want to lose landscaping they'd spent years growing in. They'd also had a previous contractor recommend painting the walls with a waterproof coating, which they'd tried themselves the year before - it held for a few months before bubbling and flaking off in the damp spots, confirming what we generally tell homeowners: a coating treats the visible symptom, not the water pressure actually pushing through the wall behind it.
The pattern that mattered: diffuse seepage along the floor-wall joint across three walls, rather than one clear point of failure - exactly the profile interior drainage is built to solve.
The Assessment
Our inspection confirmed there was no single failed crack or isolated exterior defect driving the water - it was coming through the natural porosity of the foundation wall and the floor-wall cold joint under sustained hydrostatic pressure during heavy rain, a pattern consistent across all three affected walls. That ruled out spot crack injection as a complete fix and pointed toward a full-perimeter interior drainage system rather than exterior excavation, especially given the landscaping constraint.
Grading around the house was also checked as part of the assessment, since surface water directed toward a foundation compounds any underlying porosity issue. In this case the grading sloped correctly away from the home on all sides, which confirmed the water pressure driving the seepage was coming from groundwater and soil saturation rather than from surface runoff pooling against the wall - useful information, because it meant a grading fix alone wouldn't have solved the problem even as a cheaper first step, and ruled out delaying the drainage work to try that route first.
Why Not Exterior
The seepage wasn't from one identifiable exterior failure point, so excavation wouldn't have targeted a specific repair - it would have meant a full perimeter dig disturbing the patio and garden beds for a problem interior drainage could solve from inside.
The Interior Solution
A full-perimeter drain channel along all three affected walls, tied into a new sump pit and pump with battery backup, given the home's history of storm-related power outages in the area.
The Work
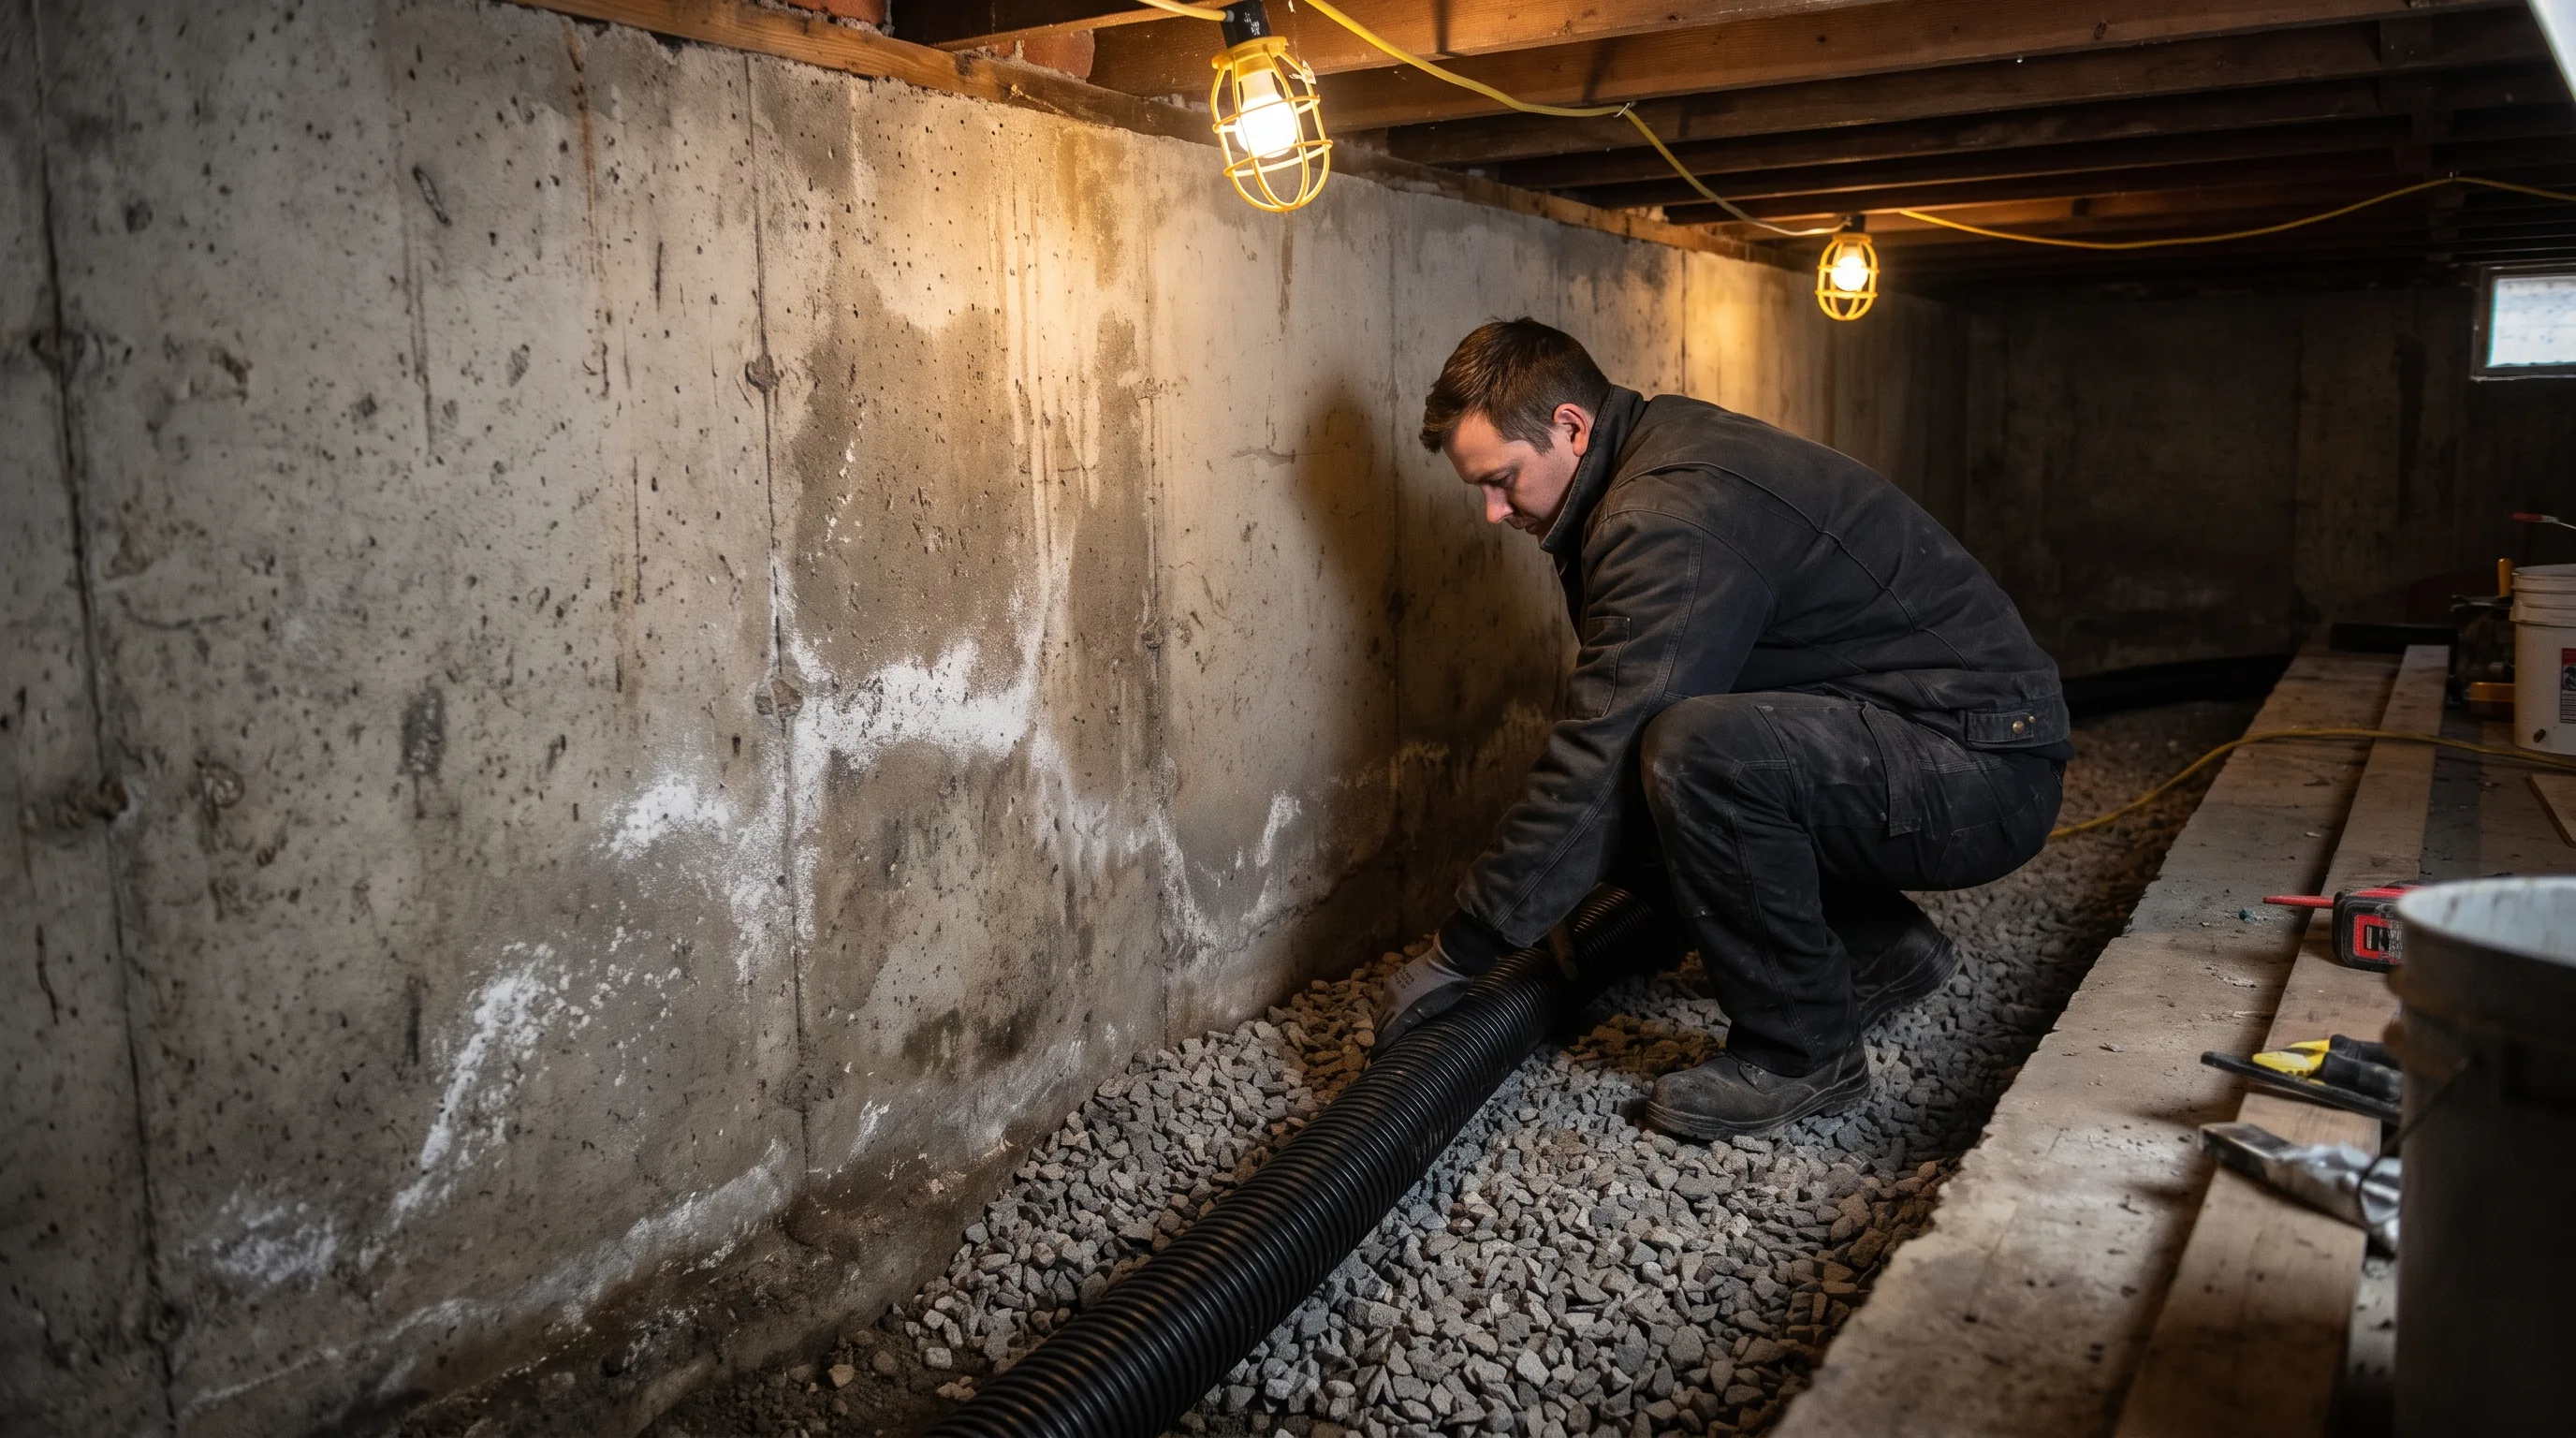
The crew cut a channel into the concrete floor along the base of the three affected walls, exposing the footing and installing perforated drain pipe bedded in clean gravel, sloped toward a new sump pit cut into the lowest corner of the basement. The sump pump and battery backup went in together, with the discharge line routed through the rim joist and out to daylight well clear of the foundation - and clear of the patio the homeowners were protecting. The concrete channel was patched and finished to match the surrounding floor as closely as possible. Because the work never left the interior of the basement, the patio, the gardens, and the rest of the yard were completely untouched throughout the project.
Dust control was a real consideration given that concrete cutting was happening in an occupied home. The crew used a wet-cut saw for the channel to keep airborne dust to a minimum, and sealed off the basement stairwell with plastic sheeting for the duration of the cutting work so the rest of the house stayed clean. This is a small detail that doesn't show up in before-and-after photos but makes a meaningful difference in how disruptive a two-day interior project actually feels to the people living in the house while it's happening.
Why Rosedale's Older Housing Stock Is Prone to This
Rosedale sits on the flatter ground east of the escarpment, in an area developed mostly in the 1950s and 60s, when foundation waterproofing standards were considerably lighter than what's required today. Many homes here were built with a simple parge coat or asphalt-based damp-proofing on the exterior rather than a true waterproof membrane, and whatever weeping tile was installed at the time was typically clay or unperforated pipe that silts up or crushes under decades of soil settlement. None of that shows up as an obvious defect from the outside - the exterior often looks completely intact - which is exactly why the water finds its way in gradually, through porosity and joints, rather than through one obvious hole. This homeowner's basement was a textbook example of that pattern: nothing dramatically wrong to see, just decades-old waterproofing quietly falling short of what a modern rainfall event demands of it.
Timeline From Inspection to Dry Basement
The homeowners booked the free assessment after a particularly heavy September rainstorm left the most visible dampness yet. The on-site inspection happened within four days, and because the scope was interior-only with no permit requirement for the drainage work itself (only the sump discharge connection needed a straightforward plumbing sign-off), the written proposal went out within 48 hours of that visit. They approved it the same week, and installation was scheduled for the following week - two working days as described above. From first call to a fully dry, tested system, the whole project took just under three weeks, most of which was scheduling lead time rather than actual work - a timeline that would have run considerably longer had exterior excavation been the chosen path, given the permit review that kind of scope typically requires.
The Result
- Full-perimeter interior drainage across all three affected walls, tied into one sump system
- Battery backup installed given the property's history of storm-related power outages
- Zero disruption to the homeowners' patio and landscaping - the entire project stayed inside the foundation walls
- No seepage through two subsequent heavy rain events since completion
The homeowners have since told us the biggest change wasn't just the dry floor - it was no longer dreading every heavy-rain forecast the way they had for three seasons running. That's a common thread in interior drainage projects generally: the water problem itself is usually manageable on its own, but the low-grade anxiety of checking the basement after every storm is what homeowners describe wanting gone most, and a properly sized, properly backed-up system is what actually delivers that peace of mind rather than just addressing the water on paper.
This project is a clean example of when interior drainage is the right call on its own merits, not just the cheaper option - a diffuse, multi-wall seepage pattern with no isolated exterior defect, combined with landscaping the homeowners weren't willing to sacrifice, made interior drainage both the technically appropriate fix and the practical one. For the full comparison of when interior drainage makes sense, see our no-dig drainage guide, for service details on a project like this, visit our interior waterproofing service page, and if you're ready to get your own basement assessed, our free estimate guide covers what that visit includes.
Frequently Asked Questions
The seepage pattern was diffuse along the floor-wall joint across three walls rather than one isolated exterior failure point, and their finished backyard patio and mature landscaping made exterior excavation both more expensive and more disruptive than the problem justified.
Two days from first cut to final concrete patch - one day to cut the channel, place the pipe and gravel, and set the sump pit, and a second day for the pump installation, discharge line, and concrete repair to cure enough to walk on.
Only the perimeter needed to be cleared - furniture and storage in the center of the room stayed in place throughout, since the work was confined to a narrow channel along the walls rather than the whole floor.