A two-storey home in Glanbrook came to us after two full years of a basement that smelled musty every spring and a section of drywall the homeowners had quietly stopped storing anything against. This is a walkthrough of what we found when we finally got in to diagnose it, why we recommended interior drainage over exterior excavation, and what the finished system looks like today.
The Problem
The homeowners first noticed the smell two springs earlier - a musty odor near the rear corner of the basement that showed up after the thaw and never fully went away, even with a dehumidifier running through the summer. They assumed it was humidity and lived with it. By the second year, a faint water line had appeared along the bottom eight inches of drywall in that corner, and that's when they called for an assessment.
No cracking was visible on the interior wall. The concrete looked intact. But the pattern - water appearing at the same spot every spring, a smell that persisted regardless of dehumidifier use, and a subtle discoloration creeping up the drywall - pointed to an active entry point rather than simple condensation.
What the assessment found: a section of weeping tile along the rear foundation wall had partially collapsed, likely from soil settling over the subdivision's first decade, allowing groundwater to pool against the wall with nowhere to drain.
Why It Took Two Years to Call
The homeowners weren't being careless - the signs just didn't look urgent in isolation. A smell that shows up seasonally is easy to attribute to a basement being a basement. A dehumidifier that seems to be doing its job masks the fact that it's fighting a losing battle against a continuous water source rather than ambient humidity. It wasn't until the water line crept visibly up the drywall that the problem became impossible to explain away, and by then two full spring seasons of moisture had already been working on that corner of the house.
This is a common pattern in Hamilton basements: the signs that get ignored longest are the ones that don't produce a dramatic, obvious puddle. Slow, seasonal dampness is easier to live with than a flood - right up until it isn't.
Choosing Interior Drainage Over Exterior Excavation
With the entry point identified as a wall-level seepage issue rather than a single defect, we walked the homeowners through both options. Exterior waterproofing would have meant excavating along roughly 30 feet of rear foundation wall - directly through landscaping the family had just finished the previous summer. Interior drainage would solve the same water-entry problem from inside, in a fraction of the time, without touching the yard.
Why Interior Drainage Won
The water was entering through the wall itself, not from one isolated exterior defect - interior drainage intercepts it regardless of where along the wall it gets in, without disturbing the finished landscaping above.
What Exterior Would Have Cost
Excavating 30 feet of foundation wall, removing and later restoring the landscaping, and backfilling would have pushed the project past $25,000 and added over a week to the timeline.
The Process
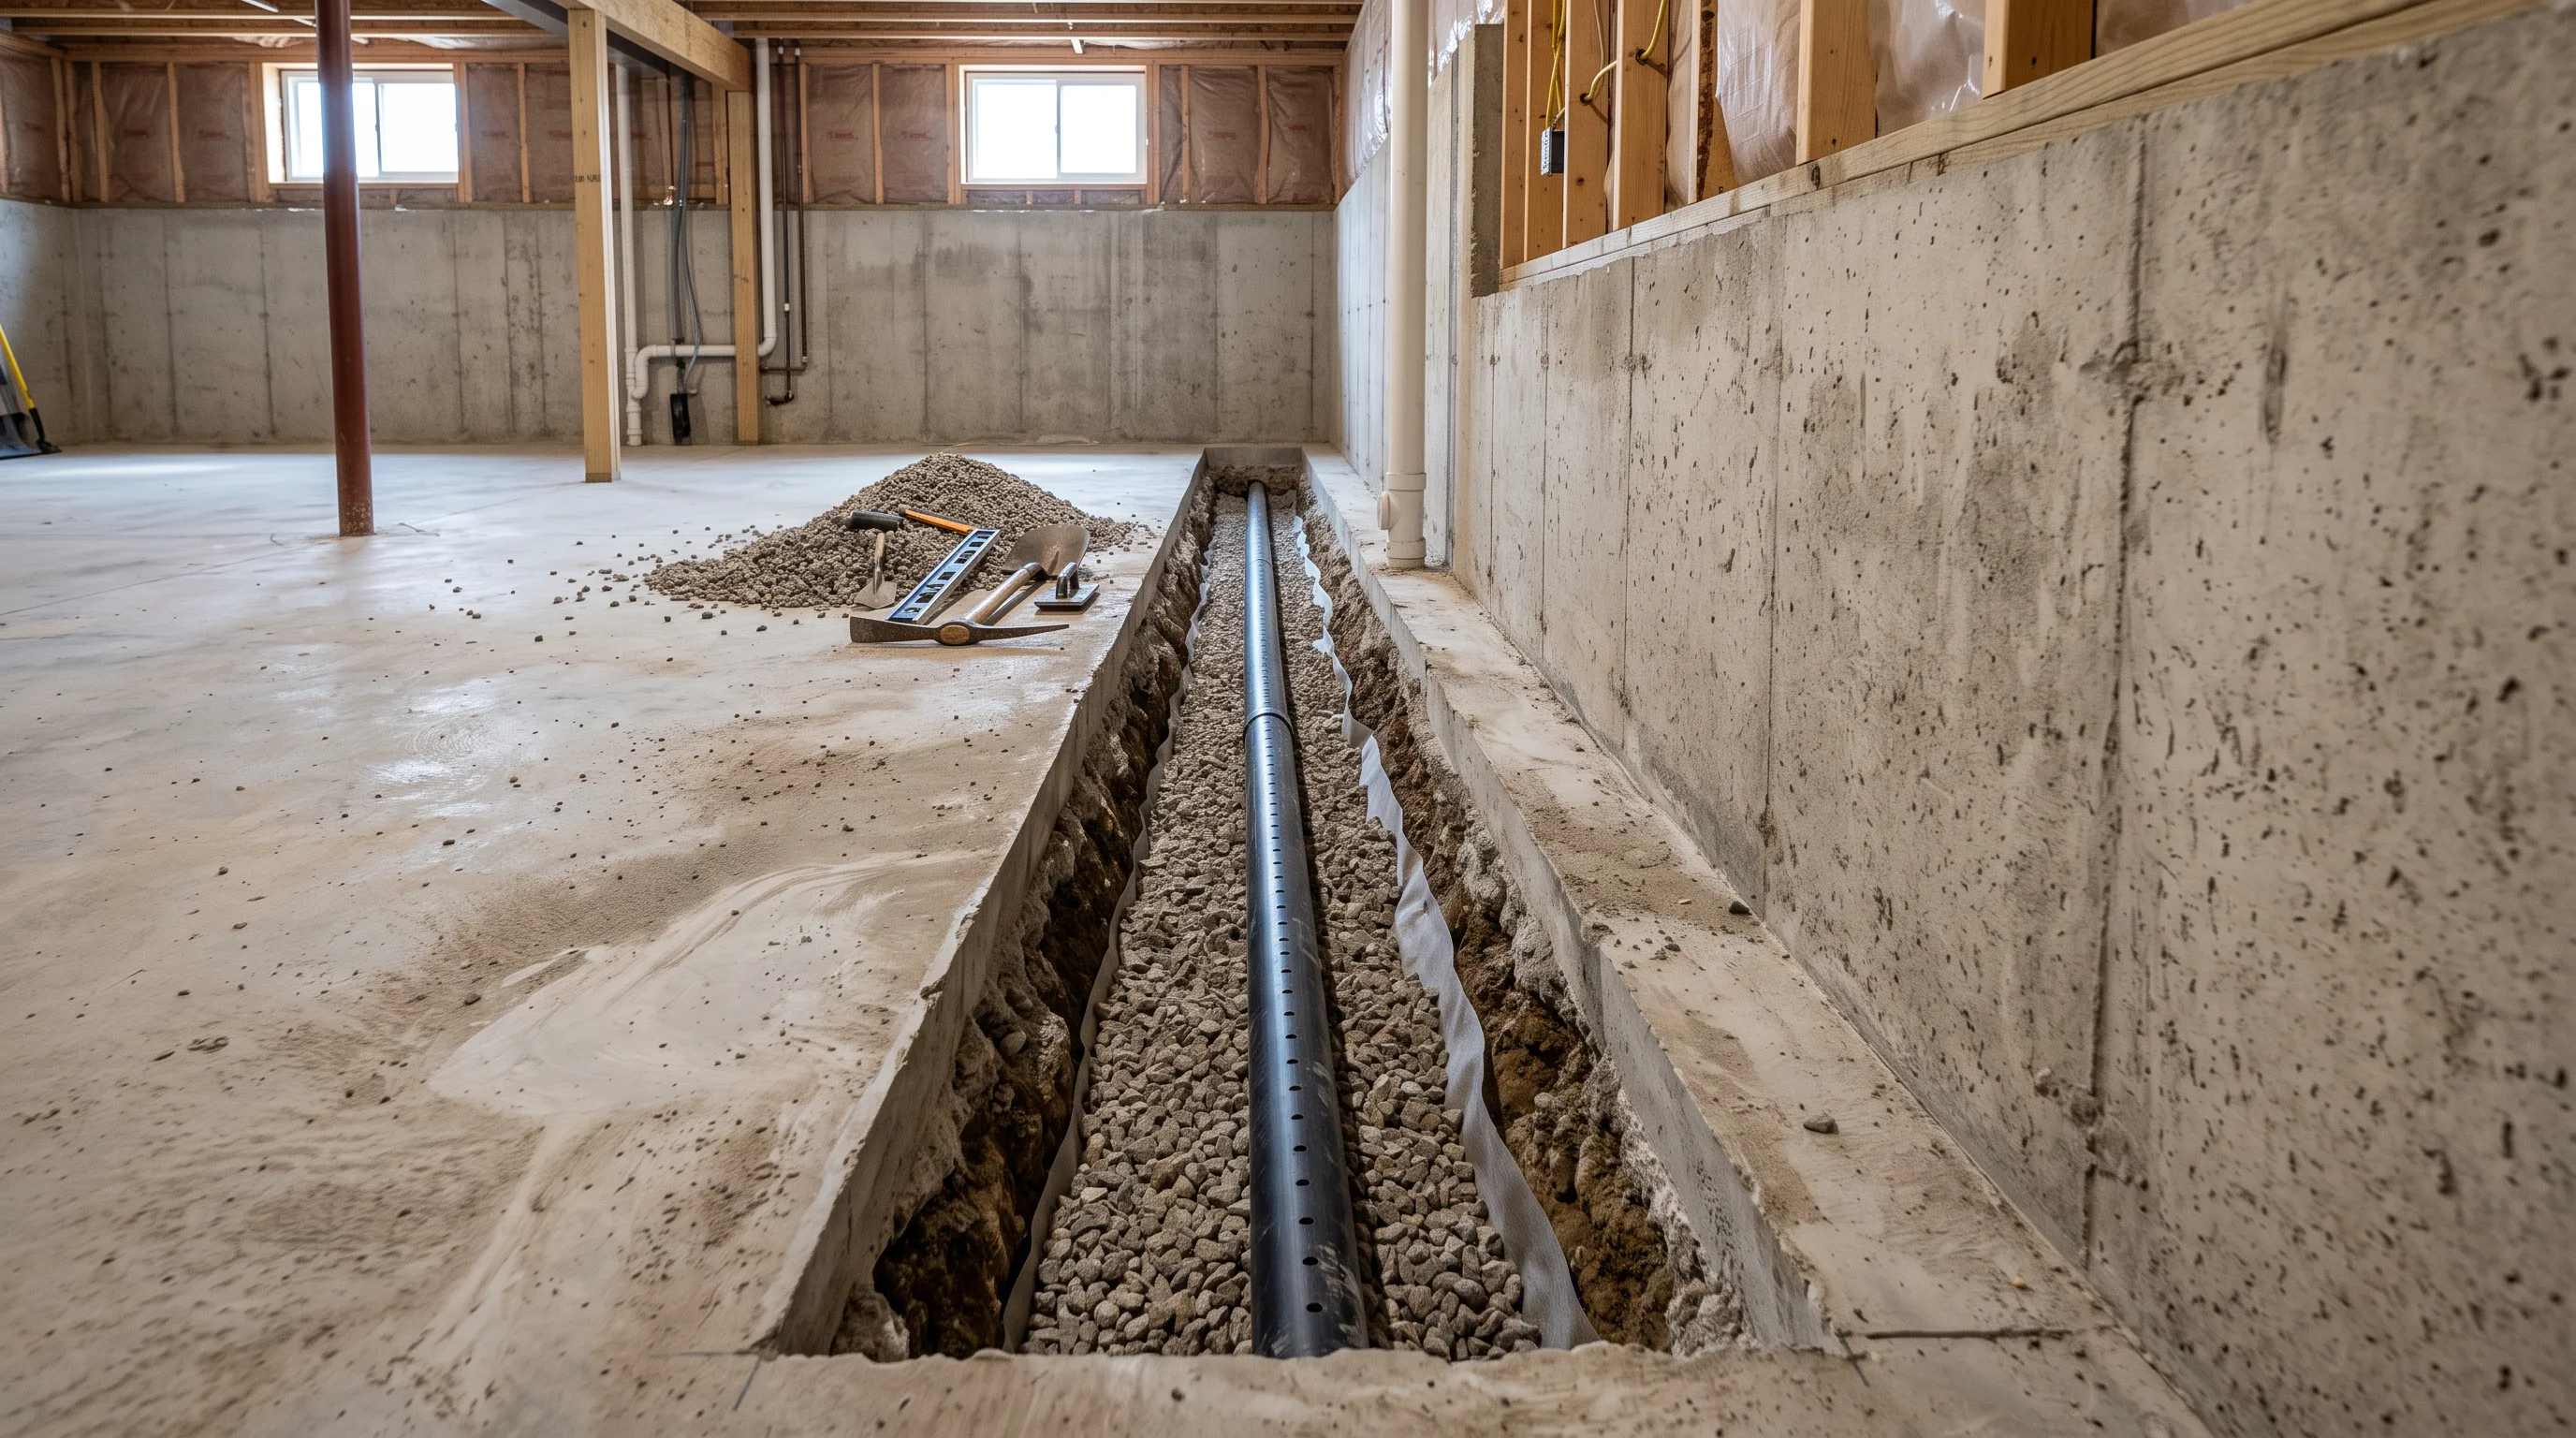
Day one started with protecting the finished basement space - flooring and stored items were moved clear of the work zone, and a dust barrier went up to contain the concrete cutting from the rest of the basement. The crew then cut a channel roughly 16 inches wide along the base of the affected wall and broke out that section of the concrete floor, exposing the footing below.
Day two was drainage installation. A perforated drainage pipe went into the channel, wrapped in filter fabric to keep silt and fine soil from clogging it over time, and sloped gently toward a new sump pit dug in the rear corner of the basement. A layer of clear stone went in around the pipe to keep water moving freely toward the pit rather than pooling in the channel itself. A submersible sump pump with a battery backup - so it keeps running through a power outage during a storm, exactly when it's needed most - was set into the pit, with a discharge line routed up through the rim joist and out to daylight, well away from the foundation so discharged water can't just cycle back in.
Day three was floor patching and testing. The exposed channel was filled back in with fresh concrete, feathered at the edges to match the existing slab height so there's no visible seam or trip hazard once it cures. Before the crew left site, they ran a hose along the base of the affected wall for close to twenty minutes to simulate a heavy rain event, confirming the new channel collected every bit of it and the sump pump cycled correctly to move it out.
The Result
The full installation took three working days from the first cut to the final test. The musty smell was gone within the first week as the space dried out completely, and the family reported no water and no odor through the following spring thaw - the first dry spring in that basement in over two years. The drywall section that had discoloured was replaced as part of the punch-list before the crew signed off, so the repaired corner now looks the same as the rest of the finished basement. The system carries a 10-year warranty on materials and workmanship.
Before and After
Before: Two Years of Guessing
A dehumidifier running constantly, a smell that never fully cleared, and a family avoiding storing anything against one wall - with no clear answer for what was actually causing it.
After: A Diagnosed, Warrantied Fix
A dry basement through a full spring thaw, a written 10-year warranty on the system, and a specific, documented reason the problem happened in the first place.
What This Project Cost
The Glanbrook interior drainage installation, including the sump pump, discharge line, and floor patching, landed at $11,400 - within the typical $8,000 to $20,000 range for a full perimeter system, on the lower end because only one wall needed the drainage channel rather than the full basement perimeter. BaseWorks confirmed that scope and price in writing before any work began. See current pricing on our basement waterproofing page.
What This Project Shows
Frequently Asked Questions
The home had no interior drainage system to feed the sump pump - water was entering directly through the wall and pooling on the floor before it could reach a drain. A sump pump only works as part of a complete drainage system; adding one alone wouldn't have collected the water in the first place.
It could have, but it would have meant excavating the homeowners' recently landscaped side yard and a higher cost. Since the water was entering through the wall rather than from a specific exterior defect, interior drainage solved the same problem with far less disruption.
The full interior drainage system installation, including sump pump and discharge line, was completed in three working days from start to finish.
The recurring water at the same spot after every heavy rain and the musty smell that kept returning were both signs of an active entry point, not humidity. Two years of ignoring both signs is what allowed the damage to spread to the drywall and flooring before the fix.
Glanbrook's mix of newer subdivisions on clay-heavy soil makes hydrostatic pressure a common cause of basement water entry in the area, particularly in homes built within the last 15-20 years where grading around the foundation hasn't always been done to spec.
No. Interior drainage work is contained to the basement and doesn't affect the livability of the rest of the house. The family stayed in the home through all three days of work, and the dust barrier kept the mess out of the finished basement space above the work zone.